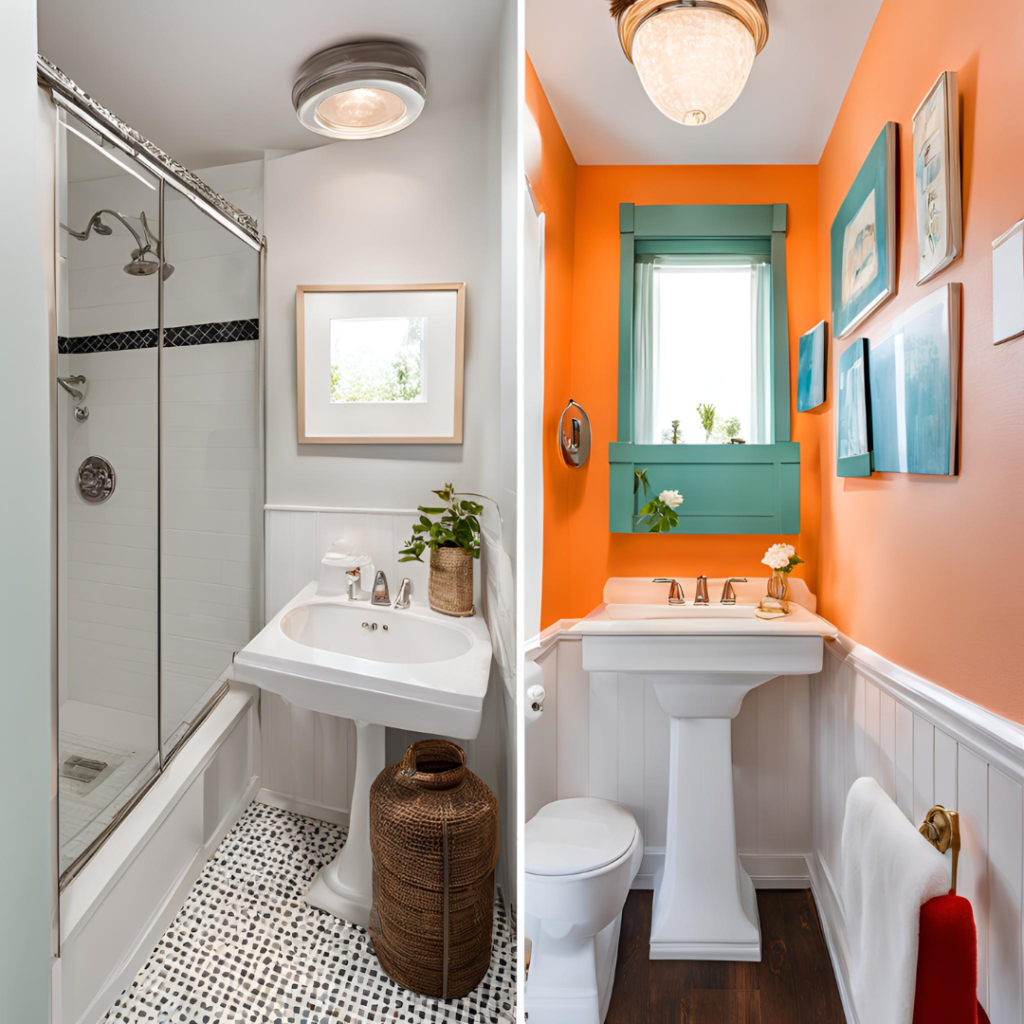

Upgrading your bathroom with new fixtures is an exciting way to give the space a fresh look, enhance its functionality, and add value to your home. Whether you’re renovating the entire bathroom or simply replacing a dated faucet or showerhead, installing new fixtures can be a satisfying DIY project. However, to ensure the job is done right and safely, it’s essential to approach the task with proper preparation, the right tools, and an understanding of the installation steps involved.
In this comprehensive guide, we’ll provide expert tips for installing bathroom fixtures with confidence. From selecting the right fixtures to understanding plumbing basics and troubleshooting common issues, this guide covers everything you need to ensure a smooth and successful installation process.
Preparing for the Installation
Choosing the Right Fixtures for Your Bathroom
The first step in any bathroom update is selecting the right fixtures. The fixtures you choose will not only impact the look and feel of the space but also the overall functionality. Whether you’re upgrading your sink faucet, installing a new showerhead, or replacing bathroom lighting, it’s important to choose fixtures that suit both your style and needs.
When shopping for bathroom fixtures, consider the following:
- Style and Design: Your fixtures should complement the existing aesthetic of your bathroom. Whether you lean towards modern, industrial, or traditional styles, there are plenty of options to match the vibe you’re going for. Chrome, brushed nickel, and matte black are popular finishes for contemporary bathrooms, while vintage or oil-rubbed bronze fixtures can add a touch of classic charm.
- Functionality: Make sure the fixtures you choose not only look great but also function well for your needs. For instance, if you have low water pressure, a high-efficiency showerhead or faucet might be a better choice. If you’re installing a new shower, consider whether you need a rainfall showerhead for a luxurious experience or a handheld showerhead for versatility.
- Budget: Fixtures come in a range of prices. It’s essential to set a realistic budget for your bathroom upgrade. There are many high-quality options at affordable prices, so prioritize what’s most important (style, durability, or functionality) based on your budget.
- Size and Fit: Always measure your existing fixtures before purchasing new ones to ensure they will fit in your bathroom. This is especially crucial for larger items like vanities or bathtubs, where sizing might impact both the aesthetic and functionality of the space.
Gathering the Necessary Tools and Materials
Before you dive into your installation project, make sure you have the necessary tools and materials. The right tools will make the process much easier, and having everything you need on hand will save time. Some common tools and materials for bathroom fixture installations include:
Basic Tools:
- Adjustable wrench or pipe wrench
- Pipe tape (also known as Teflon tape)
- A set of screwdrivers
- Plumber’s putty
- Plunger (for clearing any clogs)
- Pliers
- Silicone sealant
- Level
- Measuring tape
- Step ladder (if working in a high area like overhead lighting)
Materials:
- New bathroom fixture(s)
- Faucet installation kit (if replacing a faucet)
- Replacement parts (gaskets, washers, etc.)
- Silicone caulk (for sealing)
Shutting Off the Water Supply
Always make sure to turn off the water supply before starting any work involving plumbing. This will prevent flooding and avoid water damage. Locate your main water shutoff valve, usually near the water meter, and turn it off. If you’re only working on a single fixture (such as a sink), there should be local shutoff valves beneath or behind the fixture. Make sure to test that the water is off by turning on the faucet or shower before proceeding.
Installing Your New Fixtures
Replacing a Faucet
One of the most common and simple bathroom upgrades is installing a new faucet. Here’s how you can replace your faucet and give your sink a fresh, modern look:
- Remove the Old Faucet: Begin by disconnecting the water supply lines. Use a wrench to loosen the nuts and carefully remove the faucet from the sink. Expect some residual water to drip out, so keep a towel or bucket nearby.
- Prepare the New Faucet: If you’re using plumber’s putty, apply it around the base of the faucet. Some models may come with a rubber gasket instead, so check the manufacturer’s instructions for specifics. Place the new faucet into the sink’s faucet holes.
- Secure the Faucet: From underneath the sink, use the mounting hardware included with the new faucet to tighten the faucet into place. Be sure not to overtighten, as this could crack the sink or the faucet.
- Reconnect Water Supply Lines: Reattach the water supply lines to the faucet. Apply pipe tape to the threads to ensure a leak-free connection, and tighten the connections with your wrench.
- Test the Faucet: Turn the water supply back on and check for leaks. If you notice any, tighten the connections slightly or reapply Teflon tape to the threads.
Installing a New Showerhead
Installing a new showerhead is another straightforward upgrade that can significantly improve your shower experience. Here’s how to do it:
- Remove the Old Showerhead: Use a wrench or pliers to unscrew the existing showerhead from the shower arm. Be careful to avoid damaging the arm.
- Clean the Shower Arm Threads: After removing the old showerhead, clean the threads of the shower arm to remove any old debris, rust, or plumbing tape.
- Install the New Showerhead: Wrap Teflon tape around the threads of the shower arm to ensure a watertight seal. Then screw on the new showerhead, tightening it by hand.
- Test for Leaks: Turn on the water supply and check the connection for leaks. If you notice any, simply tighten the showerhead a little more or add extra plumber’s tape to the threads.
Installing a New Toilet
Replacing a toilet can seem daunting, but with a little effort and attention to detail, it’s a manageable task. Here’s how to do it:
- Remove the Old Toilet: Start by shutting off the water supply to the toilet. Disconnect the water supply line and unscrew the bolts securing the toilet to the floor. Once everything is disconnected, carefully lift the old toilet off and set it aside.
- Prepare the Toilet Flange: Check the toilet flange for any damage. If it’s cracked or broken, you’ll need to replace it before installing the new toilet. Clean the area around the flange and place a new wax ring on top of it.
- Position the New Toilet: Lower the new toilet onto the flange, making sure to align the bolt holes in the base of the toilet with the bolts on the floor. Press down firmly to ensure the wax ring forms a good seal.
- Secure the Toilet: Tighten the toilet bolts to secure the toilet to the floor. Be sure not to overtighten, as this can crack the toilet. Reconnect the water supply line to the tank.
- Test the Toilet: Turn the water supply back on and check for any leaks around the base of the toilet. If everything is secure, the installation is complete.
Troubleshooting Common Issues
Even with careful installation, there are a few issues that can arise. Here are some common problems and how to fix them:
Leaks Around Faucets or Showerheads
Leaks are a frequent issue when installing bathroom fixtures. If you notice water around your faucet or showerhead, it could be due to improperly tightened connections or worn-out seals. Make sure all connections are tightened securely and reapply Teflon tape to the threads. Check that the rubber gaskets are in place and in good condition.
No Hot Water from New Fixtures
If your new faucet or showerhead is only delivering cold water, check the hot water supply line to make sure it was connected properly. It’s possible that the hot and cold lines were mixed up during installation, so verify that the hot water line is correctly connected to the hot side of the fixture.
Toilet Not Flushing Properly
If your new toilet isn’t flushing properly, it could be due to issues with the fill valve, the water level in the tank, or even a clog in the drainpipe. Adjust the water level inside the tank and check the flush valve for proper function. If the problem persists, consider calling a plumber to inspect the installation.
Final Touches and Maintenance Tips
Sealing and Caulking
Once your fixtures are installed, take the time to apply silicone caulk around the edges of faucets, showerheads, and toilets. Caulk helps prevent water from leaking into areas where it could cause damage and can also help to prevent mold growth around the base of the fixtures.
Regular Maintenance
Maintaining your bathroom fixtures is key to ensuring they stay in good working order. Clean your fixtures regularly to prevent mineral buildup, and avoid using harsh chemicals that can damage finishes. Additionally, periodically check connections and seals to ensure everything is still tight and leak-free.
When to Call a Professional
If you run into any issues you can’t resolve on your own, or if you’re unsure about any part of the installation, don’t hesitate to reach out to a professional plumber. A small mistake can lead to big problems down the road, so it’s better to get help if needed.
Installing new bathroom fixtures is a rewarding DIY project that can completely transform your bathroom’s look and functionality. By following these expert tips and taking your time, you can complete the job with ease and confidence. Whether you’re upgrading your faucet, replacing a showerhead, or installing a new toilet, doing the job correctly will ensure that your bathroom remains stylish, functional, and leak-free for years to come.
Frequently Asked Questions
While many bathroom fixtures can be installed as a DIY project, some installations—like toilets or complex plumbing setups—are best left to professionals to avoid leaks or damage. If you're unsure, consider consulting a plumber.
To prevent leaks, always apply Teflon tape to threaded connections, use rubber gaskets where necessary, and ensure all connections are tightened correctly. Don’t overtighten, as this can damage components.
The basic tools you'll need include an adjustable wrench, screwdrivers, pliers, pipe tape, plumber’s putty, silicone sealant, and a level. Having the right tools on hand ensures a smooth installation.
If you're experiencing issues or are unsure about any step, it’s always a good idea to call a professional plumber to avoid costly mistakes. iFix Plumbing & Drains is here to help with expert installation and troubleshooting.
Need help installing new bathroom fixtures? Trust the experts at iFix Plumbing & Drains for professional, reliable service in Richmond Hill. Contact us today!
